Best Gluten Free Brownies
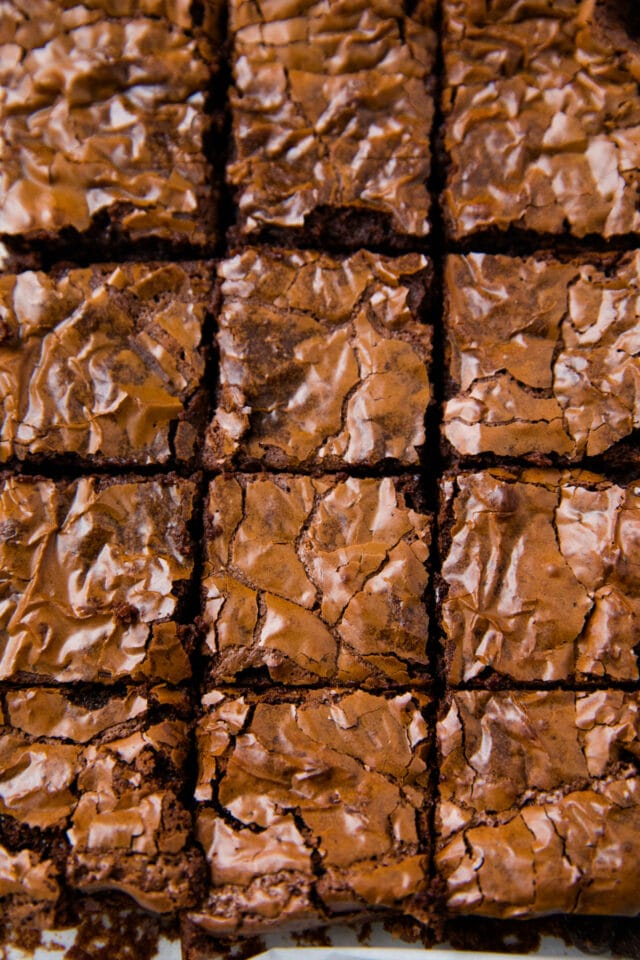
The best Gluten Free Brownies EVER! This is a recipe for my fellow chocolate addicts. For the thin, crinkly, crackly top lovers (brownie fans… you know what I’m talking about)… And for those who always grab another slice just to “make sure it’s good” (also a true story)…
EMAIL ME THE RECIPE!
These were great! I used regular sugar & cornstarch, and they turned out fudgy, crackly, & without the gritty taste I’m used to finding in gluten-free baked goods. Thanks for a great recipe!
— Ashley
So if there was ever a go-to classic brownie recipe to make over and over again, this is it! These gluten-free brownies are decadent, moist, and loaded with chocolatey goodness, you would never guess they’re made without any flour! They are a really great dessert or snack option with just 8 simple ingredients.
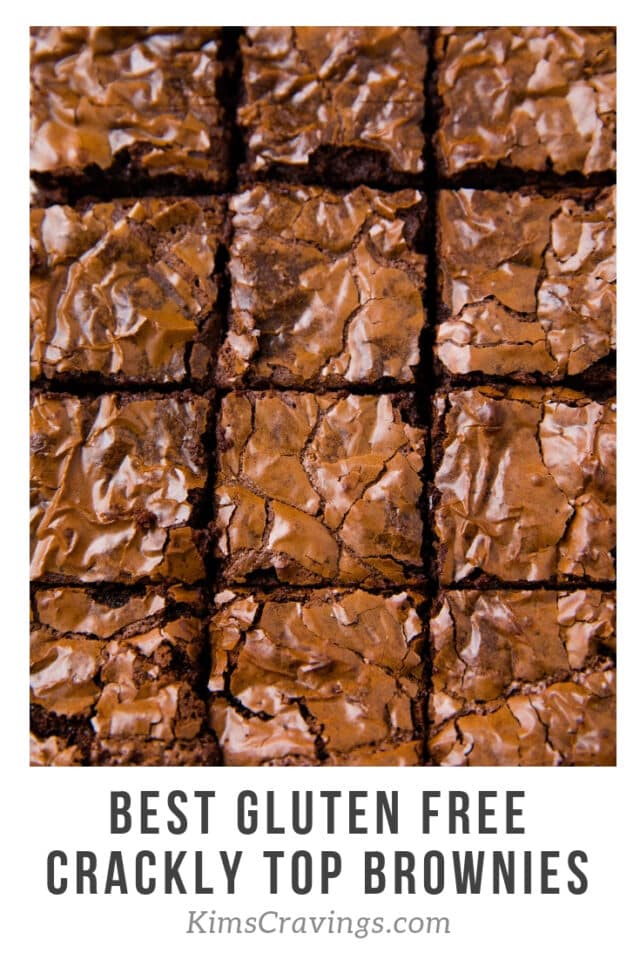
These remind me of the brownies my mom would make and there’s just simply nothing better. These are the perfect combination of both fudgy brownies and cake brownies. And if you’re a huge chocolate fan like me, you’re totally going to love them. The level of sweetness and chocolate flavor could not be more perfect, and the topping. It’s so wonderful – flakey, crinkly, and crackly. The best!
Ingredients needed
My favorite type of brownies are simple. Chocolate, no frosting, and preferably eaten straight out of the oven. Basically, the exact brownies I remember eating when I was a kid. You know, the boxed kind.
But these are gluten free too and I’m super excited to tell you that you’d never know it! They taste like the most legit gluten filled brownies ever. Ha! Here’s everything you need to make them:
- Oil. To add moisture to this treat. We like coconut oil, but any oil works. You could even use melted butter, but you might not get the crinkly tops.
- Chocolate chips. Feel free to fold in any kind of chocolate chips you want from dark chocolate to milk chocolate, but semi-sweet chocolate chips are my favorite. These are a must to develop that shiny crust on the top.
- Eggs. Two eggs bind the ingredients, provide richness, tenderize, and give structure to the bars.
- Sugar. Adds sweetness and also extra flavor. We like coconut sugar, but granulated sugar or even light brown sugar may be substituted.
- Vanilla extract. Adds delicious flavor and a subtle sweetness.
- Unsweetened cocoa powder. Be sure to use a high quality unsweetened cocoa powder for the ultimate fudgy flavor. We love using Ghirardelli Unsweetened Dutch Process Cocoa in this recipe.
- Arrowroot powder. Just 3 tablespoons of arrowroot powder takes the place of using flour and makes the brownies thicker and improves that crust on top. You can use an equal amount of cornstarch instead, if that’s what you have.
- Salt. A small amount of salt to balance the sweetness and enhance the flavor.
To make a dairy-free brownie, simply use a dairy free chocolate chip, like Enjoy Life brand chocolate chips or Lily’s semisweet baking chips.
How to make this recipe
Let’s talk details. When I was thinking about making a brownie recipe, I REALLY wanted that crackly top. They’re my favorite. I tested these brownies multiple times until they were just right. Not only did I want the crackly top, but I also wanted them to have the perfect texture, not be too cakey. They turned out so perfect and all of the trial and error was so worth it.
See the recipe card, below, for the full, printable recipe.
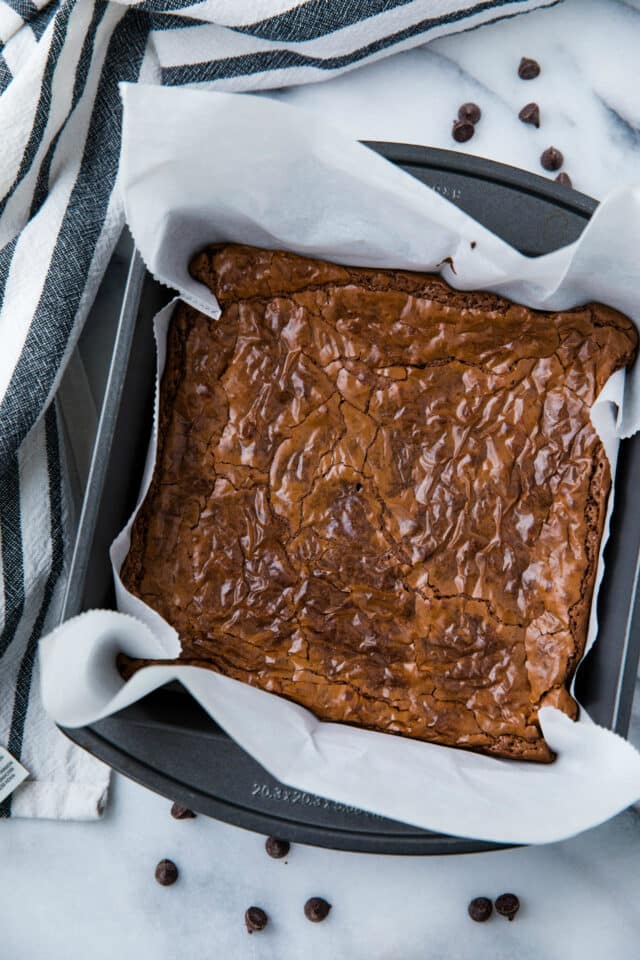
- Prep. Preheat oven to 350ºF (176ºC) and prepare an 8×8-inch (20x20cm) baking pan by lining it with a sheet of parchment paper or aluminum foil, leaving a few inches of overhang on the sides to allow for easy removal. Spray with nonstick cooking spray, if using foil and set aside.
- Melt chocolate chips. Add coconut oil and chocolate chips to a small saucepan over low heat. Stir until oil and chocolate have melted. Remove from heat and set aside to cool slightly.
- Combine ingredients. Using a mixer, beat together eggs, sugar, and vanilla extract until smooth, about 2 minutes. Add melted chocolate mixture and mix until well combined. Reduce speed to low and add cocoa powder, arrowroot powder, and salt; mixing until fully combined and scraping down the sides of the bowl as necessary. Batter should be thick and smooth.
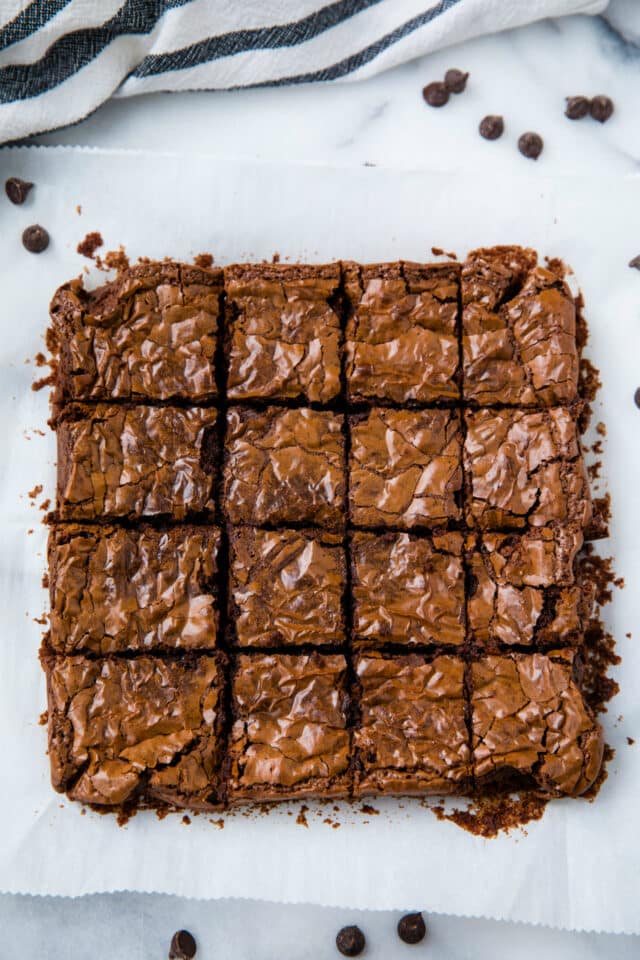
- Bake. Pour brownie batter into prepared baking dish, spreading it evenly with a spatula. Bake for 25-30 minutes, until center is set. Remove from oven and let cool in pan for about 15 minutes before removing and transferring to a wire rack to cool completely. Cut into squares and serve.
Expert tips
Follow the suggestions below and you’re sure to have the BEST gluten free chocolate brownies!
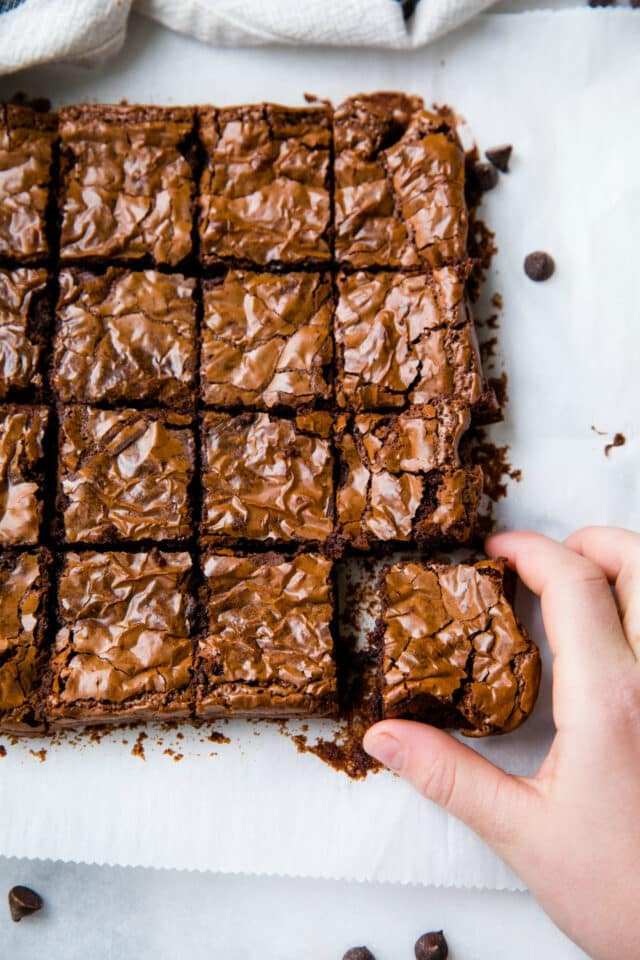
- Getting crackly tops. You’ll get those beautiful crackly tops by using melted chocolate and really beating the eggs for a good amount of time. Lots of whisking of the eggs prior to mixing them in the batter creates air within the eggs and this is what will give you that crackly top. I personally like to use an electric hand or stand mixer for getting the eggs well beaten, but you can also do it by hand.
- Adding nuts. Lots of recipes call for chopped walnuts or pecans. We typically keep these plain because my kids prefer them without nuts. However, feel free to add in 1/2-1 cup of chopped walnuts if that is what you prefer. It’s an easy addition that adds great flavor to these.
- Do not overcook. We recommend checking the brownies, once you begin to smell a strong chocolate scent. This might be around the 25-minute mark. Use a toothpick, stick it into the center, and pull it out. They need more time if there is wet batter on the toothpick. If there are a few moist crumbs on the toothpick, they are done. You really don’t want a completely clean toothpick.
- Cool completely. It’s tough waiting for these soft, chewy, chocolatey babies to cool, but it will be worth the wait. Trust me! They will slice up perfectly when cooled completely, about 15 minutes.
Frequently asked questions
There are many different gluten free brownie recipes. I’ve seen almond flour or coconut flour used, King Arthur gluten-free flour, almond butter and completely flourless brownies. These gf brownies are made with easy-to-find pantry staples like unsweetened cocoa powder, arrowroot powder (or cornstarch), eggs, oil and vanilla extract.
Cocoa is naturally gluten-free. The only ingredient in unsweetened cocoa powder should be cocoa powder, and that is naturally gluten-free.
In this brownie recipe, we are swapping any flour that might be used with arrowroot powder (or cornstarch), which provides thickness and structure.
Storage recommendations
- Storing leftovers. Don’t leave these out on the counter for more than a day or two. We recommend transferring them to an airtight container or covering them in the pan with plastic wrap and refrigerating. They will stay moist for longer, if you don’t cut them before storing, or cover all the edges that could possibly dry out. They’re actually great straight from the fridge!
- Freezing. If you DO want to store these brownies for longer than a few days, cut each piece individually and wrap well in plastic wrap, store them all in a freezer bag and freeze for up to 3 months.
- Reheat. We love these cold out of the refrigerator, but for to warm them up, microwave in 20-second bursts until warmed and melty.
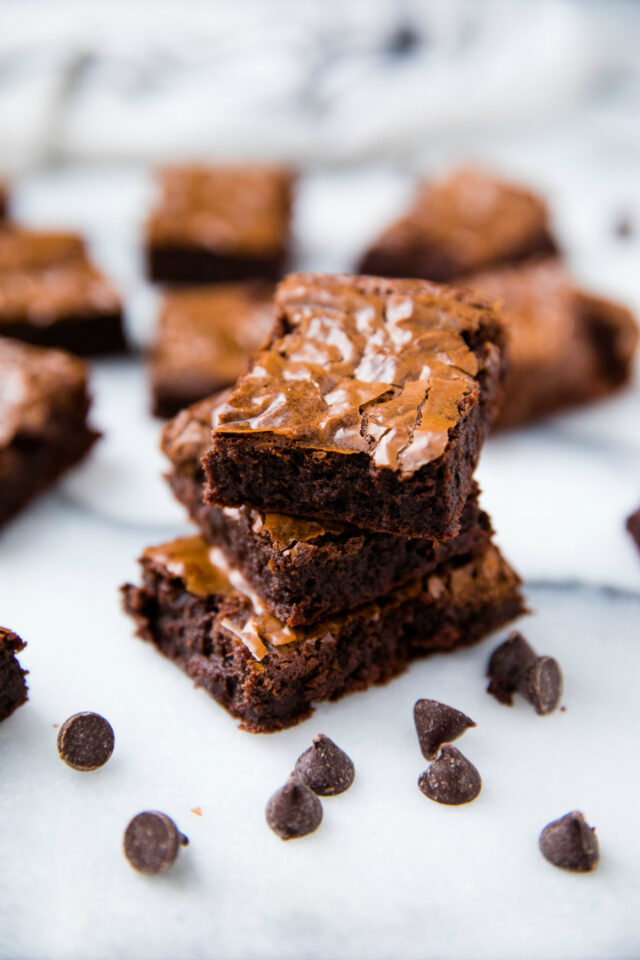
If you try these bars, let me know! Leave a comment and if your family loves them as much as mine does, be sure to give it a five star ⭐️ rating! Also, tag @kimscravings on Instagram with a picture of your creation. It’s so fun to see what you’re cooking! Be sure to subscribe to our mailing list to receive more healthy delicious recipes straight to your inbox.
Best Gluten-Free Brownies
Ingredients
- 6 tablespoon (90 ml) coconut oil*
- 6 oz. (170g) semisweet chocolate chips
- 2 large eggs, room temperature
- 2/3 cup (130g) coconut sugar**
- 2 teaspoons vanilla extract
- 1/4 cup (20g) unsweetened cocoa powder
- 3 tablespoon (24g) arrowroot powder***
- 1/4 teaspoon salt
Instructions
- Preheat oven to 350ºF (176ºC) and prepare an 8×8″ (20x20cm) baking pan by lining it with a sheet of parchment paper or aluminum foil, leaving a few inches of overhang on the sides to allow for easy removal. Grease if using foil and set aside.
- Add coconut oil and chocolate chips to a small saucepan set over low heat. Stir until oil and chocolate have melted before removing from heat and setting aside to cool slightly.
- Using a handheld mixer or a stand mixer,**** beat together eggs, sugar, and vanilla extract until smooth, about 2 minutes. Add melted chocolate mixture and mix until well combined. Reduce speed to low and add cocoa powder, arrowroot powder, and salt; mixing until fully combined and scraping down the sides of the bowl as necessary. Batter should be thick and smooth.
- Pour batter into prepared pan, spreading it evenly with a spatula. Bake for 25-30 minutes, until center is set. Remove from oven and let cool in pan for about 15 minutes before removing and transferring to a wire rack to cool completely. Cut into squares and serve.
Notes
Did you make this recipe?
Tag @kimscravings on Instagram and be sure to subscribe to our mailing list to receive more healthy and delicious recipes straight to your inbox!

I didn’t get the crinkly top until the brownies were cut, and man were these excellent!!! Better than the gluten full recipes I used in the past. I used all the substitutions listed because that’s what I had on hand. But bravo! You know what you are doing in the kitchen. These are top notch
So happy you enjoyed! Thanks so much for your comment!
Best gf brownie ever! Top had perfect crispy crackle, and fudgy chocolate brownie underneath. Thank you!
Love hearing this! Thanks so much for your comment!
Can I replace the coconut oil with Avacado oil? Allergic to coconut.
Yes, definitely!
Excellent!
So happy you enjoyed!
Absolutely amazing!
Happy to hear!
Just made these to take to a dinner party tonight. DID NOT DISAPPOINT. Only adjustments were 15g less sugar (white sugar). Thanks!
Awesome! Thanks so much for taking time to leave a comment!
These were great! I used regular sugar & cornstarch, and they turned out fudgy, crackly, & without the gritty taste I’m used to finding in gluten-free baked goods. Thanks for a great recipe!
Yay! Super happy to hear! Thanks so much for your comment.
This looks AMAZING! Do you think it will work with an egg replacement? Unfortunately I’ve developed an intolerance to egg yolks ?
Thank you! I haven’t tried, but if you do, please report back how it turns out.
Hiiii your recipe looks delicious! I want to try it
The problem is i tried beating the eggs before for 1 minute with the mixer. The mixture came out very runny and liquid.. i threw the batter away.. can you help and tell me what went wrong? I really want to try yours but i don’t want to mess it up
Thank you!
Hmmm… I’m not sure. Did you add in the arrowroot powder? That should have thickened it up.
Wow, made these yesterday and these brownies are the best ever! The only change I made was about the arrowroot powder, didn’t have it, so I used 2 tbsp tapioca starch + 1 tsp coconut flour and worked perfectly!!! My mom said these brownies are even better than the ones made with butter and wheat flour! Thanks so much for this awesome recipe ?
I LOVE hearing that!! I’m so glad that y’all enjoyed and thanks so much for taking time to leave a comment!!
Oh my do these look amazing! The crackly top is my favorite party. Yum!
Made these today – love them!
So glad you enjoyed and thanks SO much for taking time to comment!
This brownies are absolutely gorgeous to look at and must taste divine. I love the crackly top too. Yum!
I will be an egg whisker from now on. I love the crinkly tops of brownies. If I had a freezer full of GF brownies, it would be a very dangerous thing!
Gluten free brownies don’t get any better than these ones! So good!
Oh yum. I like fudgie brownies more than cakey brownies too. Can’t wait to try these.
I’ve actually never thought about how much I love a crackly top on a brownie, but you’re totally right! These look like the very best!
I love it when I can find a delicious gluten-free recipe like this. They came out so moist and delicious my family didn’t know they were “healthy”.
These brownies look heavenly! So fudgy and beautiful ♥
Wow, these do look perfect! Who can resist fudgy, chocolatey brownies?! Not me!
I love that your freezer is now full of brownies! that’s a great problem to have 🙂 these look just amazing Kim!
It’s been hard for m to find a gluten free but this recipe takes the cake! It’s the best!