Funfetti Cookies
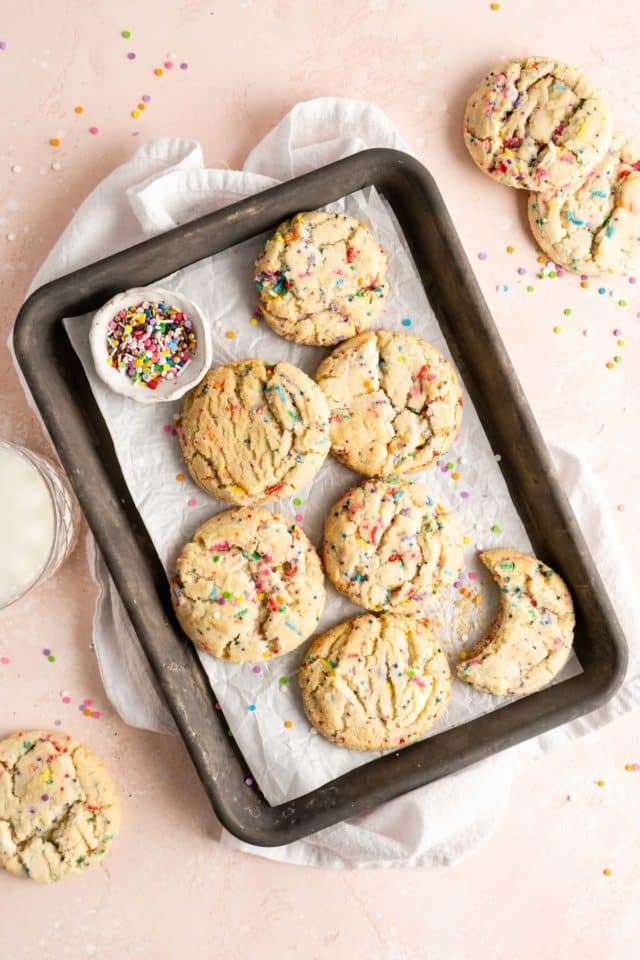
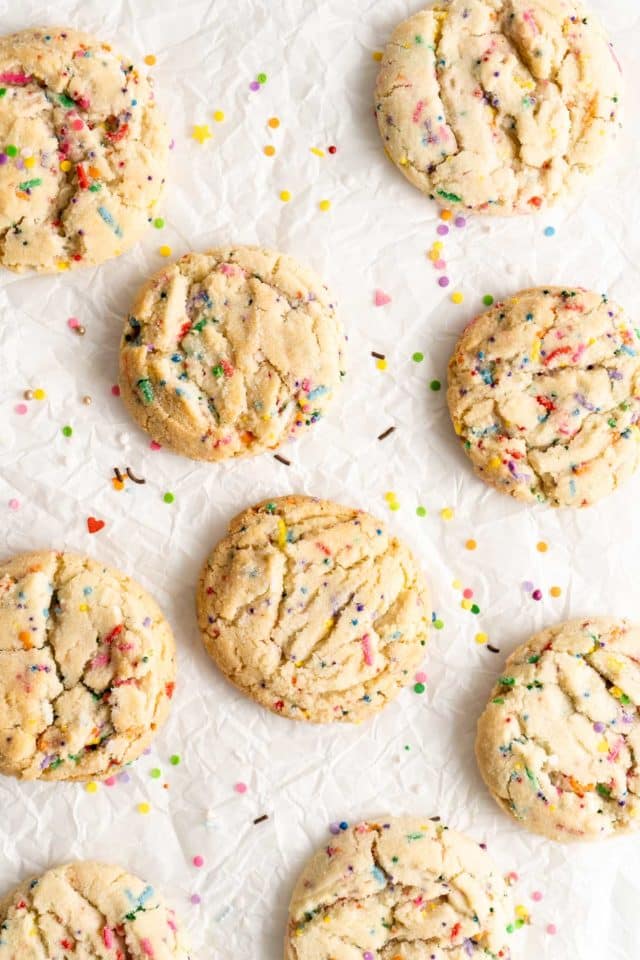
Funfetti Cookies are soft, chewy and loaded with sprinkles! These fun and festive sprinkle cookies are easy to make and even easier to eat! Use any colored sprinkles to make the perfect treat for the holidays or any other special occasions.
EMAIL ME THE RECIPE!
These delicious Funfetti Cookies were actually born from one of you lovely readers! After taking my favorite sugar cookies recipe and adding colorful sprinkles, she shared a video of them on her Instagram story. Brilliant! I couldn’t wait to give the sprinkle cookies a try for myself. They turned out so fabulous! They’re still the same soft, chewy, delicious sugar cookies, but with pretty, bright colors throughout. And I love the subtle crunch from the sprinkles!
These are definitely a new staple in my dessert rotation! And I can’t wait to coordinate the sprinkle colors for Christmas, birthdays, Valentine’s Day and beyond! Let’s bake!
Ingredients needed
The ingredient list is very simple and includes all of the basics that you’d expect to find in classic sugar cookies, plus sprinkles. It’s the ratio of ingredients that’s important to yield Funfetti cookies that are soft and puffy with the perfect vanilla flavor. The trick? Extra flour, just the right amount of sugar and real deal butter. Here’s the lineup:
- Flour. All-purpose flour is what we’re using to give these a tenderness that you just won’t find when using other types of flour. To make these gluten free, we recommend King Arthur Measure for Measure gluten-free flour.
- Baking essentials. Baking powder, baking soda and salt are essential for proper baking. Make sure your baking powder + baking soda are no more than 6 months old for maximum puffiness.
- Butter. I use salted butter because the extra salt helps to balance out all of the sugar. There is approximately 1/3 tsp salt in each 1/2 cup (stick) of butter, so if you’re using unsalted butter, add 3/4 tsp of salt to the recipe.
- Sugar. Regular granulated sugar is best in this recipe.
- Egg. Only one is needed. For better blending, take your egg out of the fridge about 30 minutes before starting the batter.
- Pure vanilla extract. Vanilla adds so much flavor. Don’t forget it!
- Sprinkles. Give me all the sprinkles! Use whatever varieties and colors you like best or a mixture of different types. You can also omit the sprinkles, if you’d like, or even roll some dough up before adding the rainbow sprinkles to the batter for some plain sugar cookies.
How to make this recipe
I love how quick this Funfetti cookies recipe comes together. No chilling of the dough required! Here’s the simple method:
- Prep time. Go ahead and remove your egg and butter from the fridge about 30 minutes before you start the recipe. Preheat the oven and line your baking pans with parchment paper.
- Dry ingredients. In a medium bowl, whisk the flour, baking soda, baking powder and salt. Set aside.
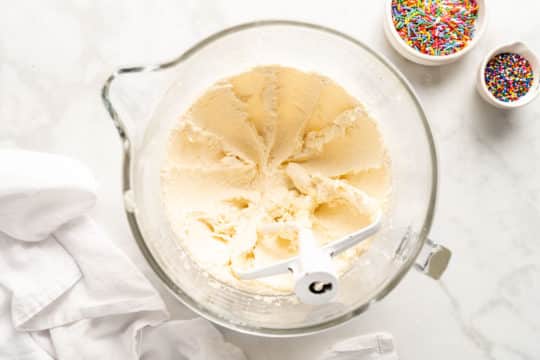
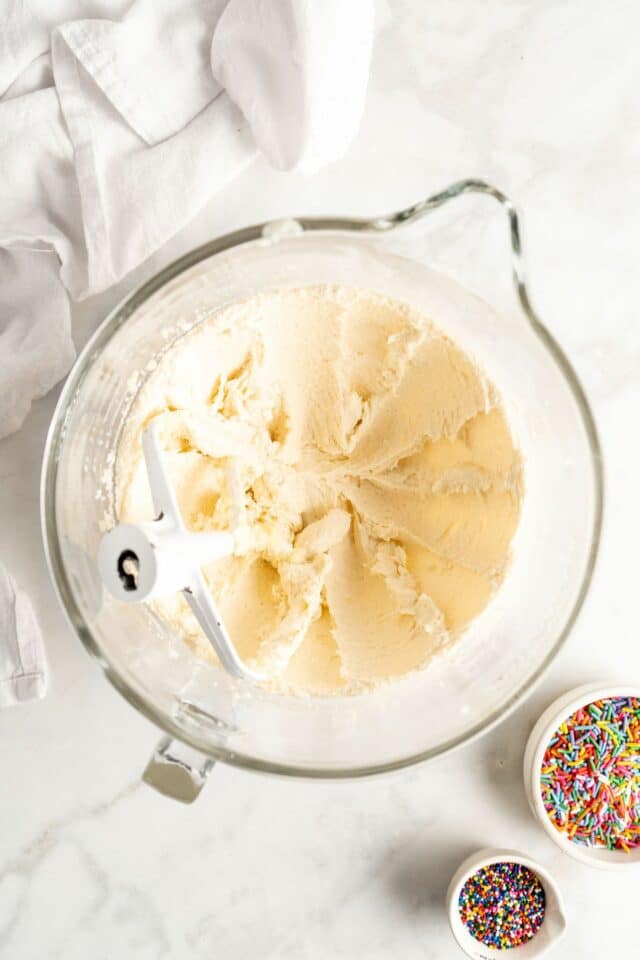
- Butter + sugar. In the bowl of a stand mixer fitted with a paddle attachment, cream the butter and sugar on medium-high speed until light in color and fluffy, about 3 minutes.
- Egg + vanilla. Next, add the egg and beat on low for about 30 seconds, then the vanilla and mix again.
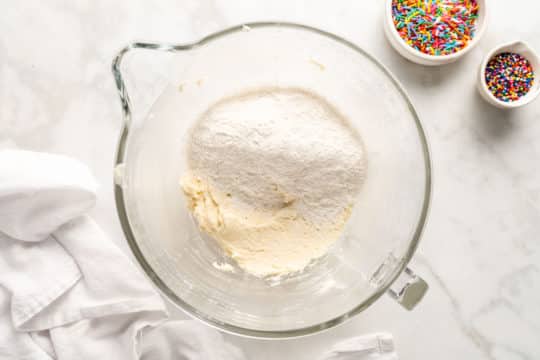
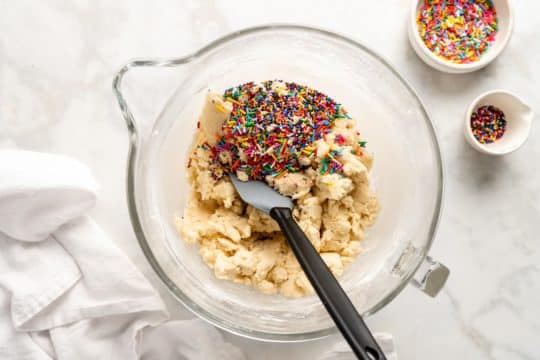
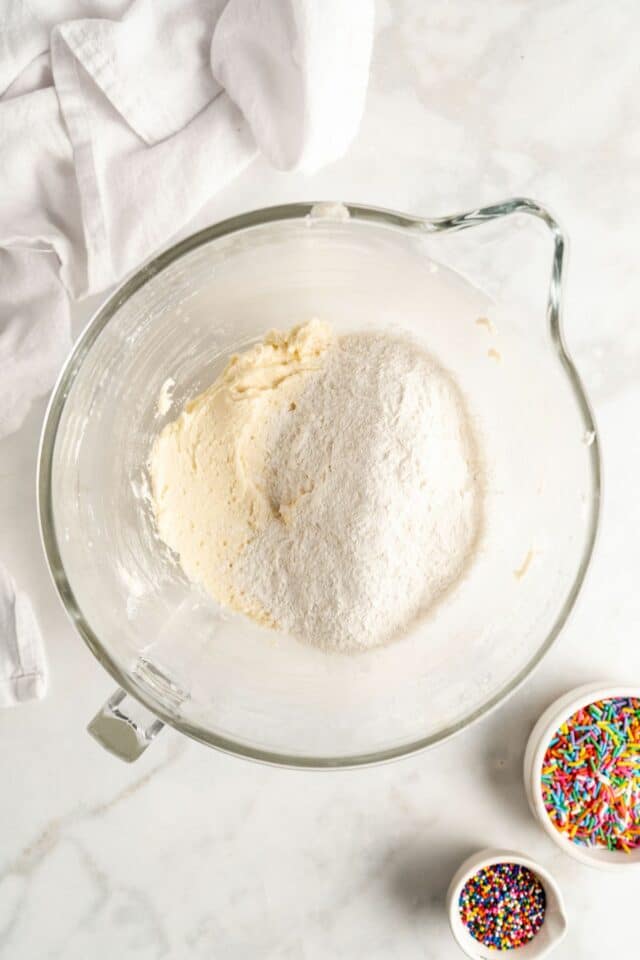
- Add dry ingredients. Gradually, add in dry ingredients and mix them with the wet until just combined. Add sprinkles and mix on low until combined. Be careful not to overmix the dough. Overmixing any batter or dough can lead to toughness.
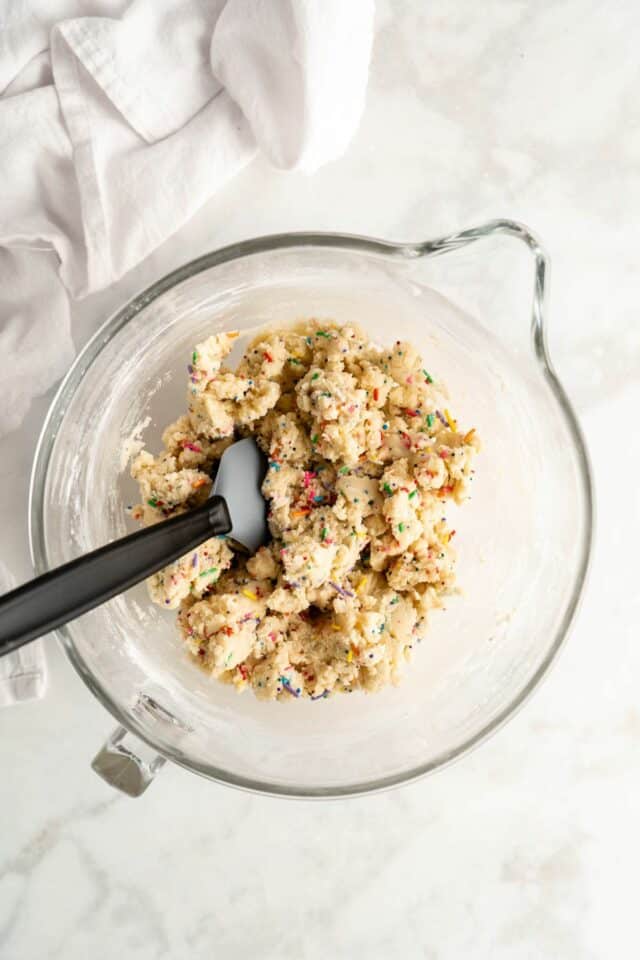
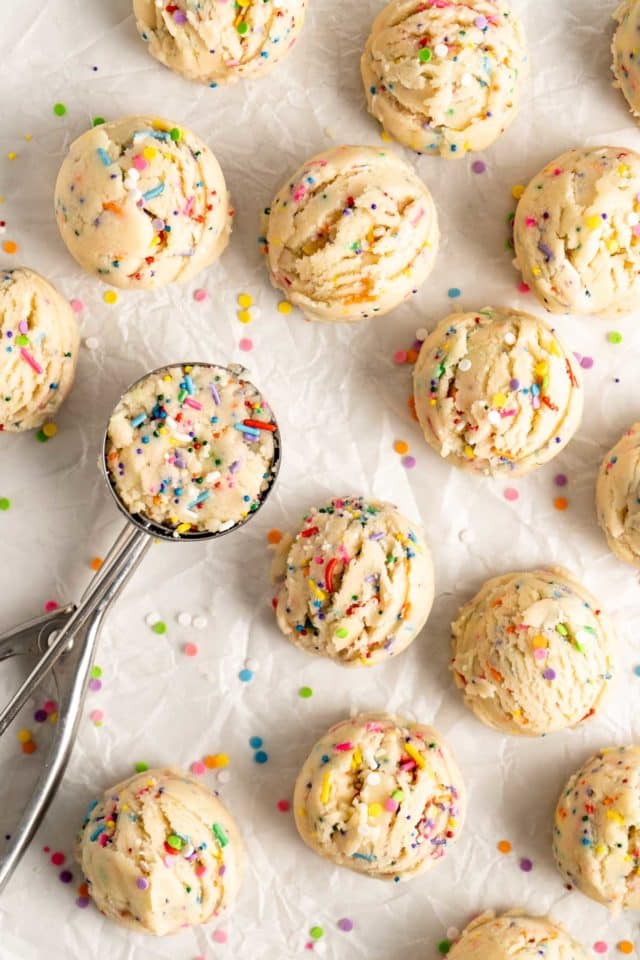
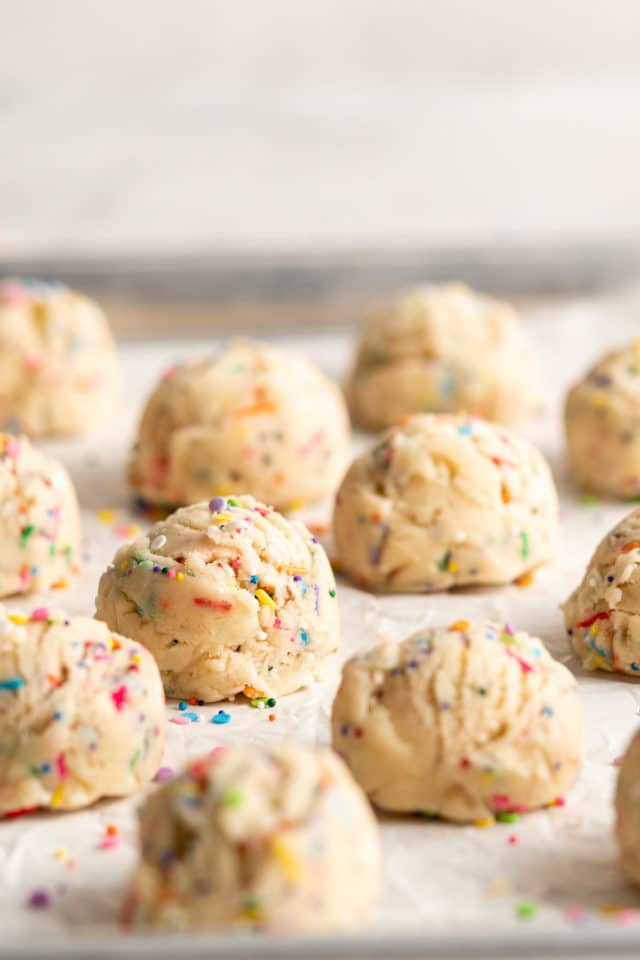
- Scoop dough balls. Use a large spoon or cookie scoop to make dough balls (mine were about 3 tablespoons full). Roll in sugar and place on a cookie sheet lined with parchment paper or a silicone baking mat. Gently press some extra sprinkles on top for a more color.
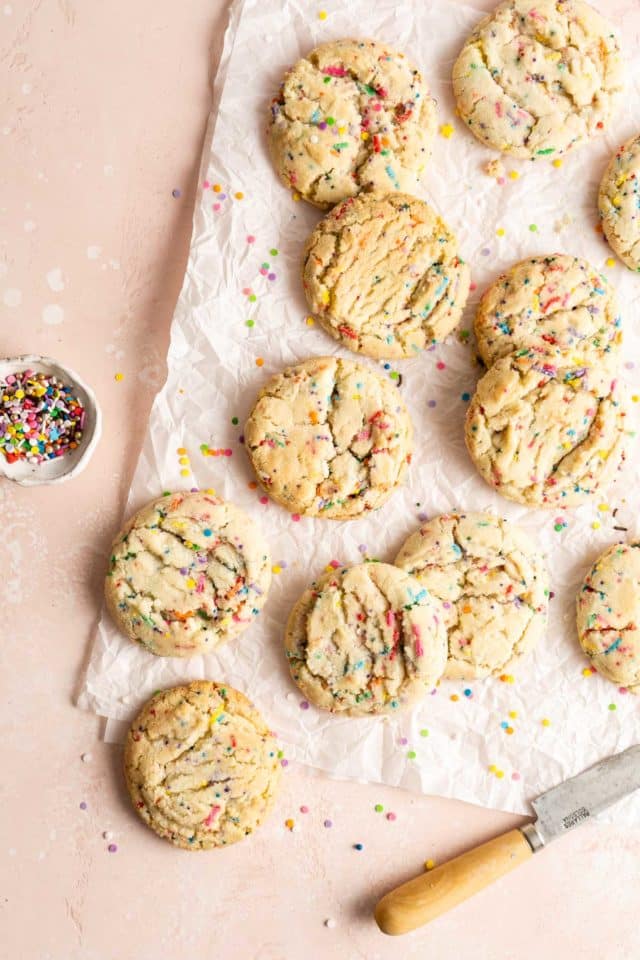
- Bake. Large cookies, like the ones pictured, will need to bake for about 12 minutes, but smaller ones may only need to bake for about 8-10 minutes. Do NOT overbake! Remove from the oven right when edges start looking set and golden. The centers may look slightly underbaked, but they will continue to cook even after they are removed from the oven.
- Cool and enjoy! Let them cool on the baking sheet for about 5 minutes. Then transfer them to a wire cooling rack to continue to cool.
Expert tips
Here are some of my top baking tips to make sure these come out perfect:
- Measure flour correctly. Too much flour can yield dry, crumbly cookies. Using a food scale is the most precise method for measuring ingredients, especially flour. If you don’t have one available, lightly spoon flour (don’t pack) into a measuring cup and without shaking the cup, use the straight side of a butter knife to level the flour across the top of the measuring cup.
- Fresh baking soda and baking powder. Be sure that your baking soda and baking powder are fresh! They lose potency over time. When I open a new can, I always write the date on the lid with a Sharpie. Discard the opened can after 6 months.
- Don’t overbake. I recommend experimenting with a couple of cookies before baking the entire recipe. This will help you find that sweet spot when it comes to bake time in your oven and your preferred level of doneness. Remember these will continue to bake for a short time, even after they’ve been removed from the oven.
- Chill the dough. No need to chill the dough! They will bake up perfectly without taking the time to chill the dough.
Double the recipe. This funfetti cookies recipe yields about 17 medium to large cookies. You can easily double the recipe, if you need a larger batch for a party, bake sale, or other event.
Frequently asked questions
These taste just like your favorite soft and chewy sugar cookie with lots of sprinkles or rainbow jimmies added for color. The nonpareils only impact the taste slightly with a candied confectioner’s glaze flavor. Their texture goes mostly unnoticed.
No, there is absolutely no chilling time needed for this dough before baking. You don’t even have to press the dough balls flat. They will spread perfectly as they bake. I love this because you can have freshly baked homemade cookies at a moment’s notice!
The length of time you’ll want to bake these is largely dependent on your oven and your personal preference. I would keep a close eye on the first batch you bake. I used a 3 tablespoon cookie scoop and made these extra large, so mine took about 12 minutes. For smaller cookies, using about 1 tablespoon of dough, the bake time may be just about 8 minutes. You’re looking for a nice light golden brown around the edges, and some crackling along the top. Be careful not to overbake, or you will lose the soft and chewy factor.
Storing and freezing
- Freezing dough. It’s great to have the cookie dough already mixed up and in the freezer, so you can bake a special treat whenever the craving hits or if hosting an impromptu get together. Scoop out balls of cookie dough and place in a freezer-safe baggie. Frozen dough balls will keep well for up to 3 months.
- Bake from frozen. Baking from frozen will work just fine. The tops of your cookies may darken a bit more, but they will still be fabulous. Follow all of the cooking instructions, but add a minute or two onto the bake time.
- Freezing baked cookies. Store in a freezer-safe container or freezer bag and freeze for up to 3 months.
- Storing leftovers. Leftover cookies will keep in an airtight container or zip-top baggie at room temperature for about 1 week, but I can’t imagine them lasting that long!
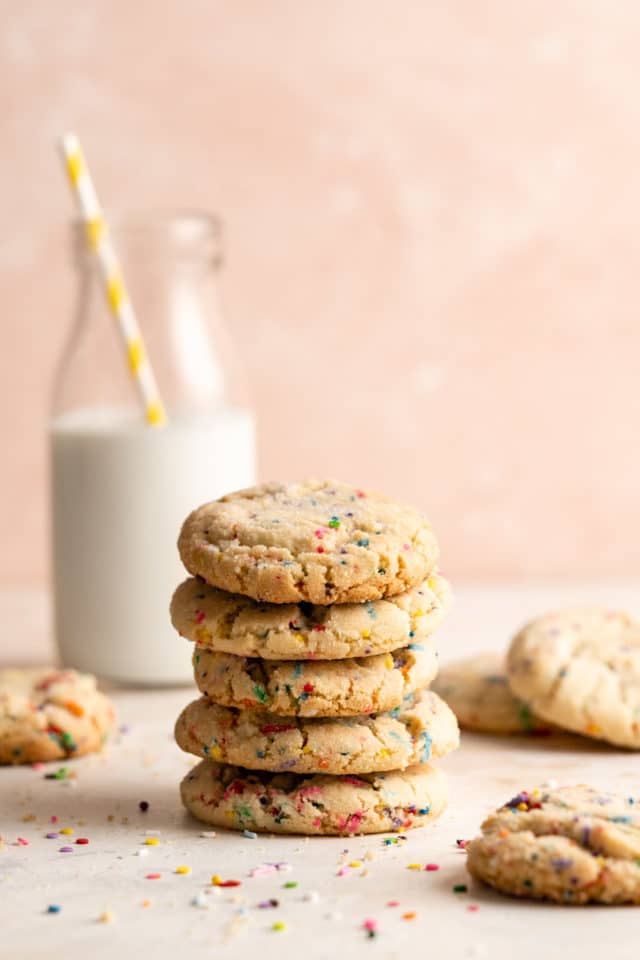
You won’t be able to eat just one of these amazing soft funfetti cookies, I promise you that. I apologize in advance, if your pants fit a little tighter!
More favorite cookie recipes
- White Chocolate Macadamia Nut Cookies
- Best Peanut Butter Cookies
- Chocolate Peanut Butter No Bake Cookies
- No Bake Peanut Butter Cornflake Cookies
- Oatmeal Chocolate Chip Cookies
If you try this recipe, let me know! Leave a comment and if your family loves these cookies as much as mine does, be sure to give it a five star ⭐️ rating! Also, tag @kimscravings on Instagram with a picture of your creation. Be sure to subscribe to our mailing list to receive more healthy delicious recipes straight to your inbox.
Funfetti Cookies
Ingredients
- 2¾ cups (385g) all-purpose flour
- 1 teaspoon baking soda
- ½ teaspoon baking powder
- ½ teaspoon salt
- 1 cup (226g) salted butter
- 1½ cups (300g) granulated sugar
- 1 large egg
- 2 teaspoon vanilla extract
- 1/2 cup (80g) sprinkles, plus more for topping
- ¼ cup (50g) granulated sugar for rolling cookies
Instructions
- Preheat oven to 375ºF. Line 2 baking sheets with parchment paper. In a bowl, whisk together the flour, baking soda, baking powder, and salt. Set aside. Place the butter and sugar in a large mixing bowl. Use a stand mixer fitted with a paddle attachment and cream on medium-high speed until light in color and fluffy, about 3 minutes.
- Add egg and vanilla and mix on low for about 30 seconds or until fully incorporated. Slowly add in dry ingredients and mix on low until almost combined, being careful not to over mix.
- Scrape down the bowl, then add the sprinkles and mix on low until just combined. Scoop the dough into large balls, I like to use a 3 tablespoon cookie scoop for this recipe. Roll the dough ball in sugar.
- Place cookie dough balls on your lined baking sheets. You can gently press some sprinkles into the top of the dough ball for presentation, if you’d like. Bake the cookies for 12-13 minutes. Cookies are done when the edges are light golden brown and there is some crackling along the top. Do not over bake, or your cookies will not be as chewy.
- Cool for 5 minutes on the baking sheet. Transfer cookies to a cooling rack to cool completely. Cookies stay fresh covered at room temperature for up to 1 week.
Notes
- Freezing dough. It’s great to have the cookie dough already mixed up and in the freezer, so you can bake a special treat whenever the craving hits or if hosting an impromptu get together. Scoop out balls of cookie dough and place in a freezer-safe baggie. Frozen dough balls will keep well for up to 3 months.
- Bake from frozen. Baking from frozen will work just fine. The tops of your cookies may darken a bit more, but they will still be fabulous. Follow all of the cooking instructions, but add a minute or two onto the bake time.
- Freezing baked cookies. Store in a freezer-safe container or baggie and freeze for up to 3 months.
- Storing leftovers. Leftover cookies will keep in an airtight container or zip-top baggie at room temperature for about 1 week, but I can’t imagine them lasting that long!
Did you make this recipe?
Tag @kimscravings on Instagram and be sure to subscribe to our mailing list to receive more healthy and delicious recipes straight to your inbox!


